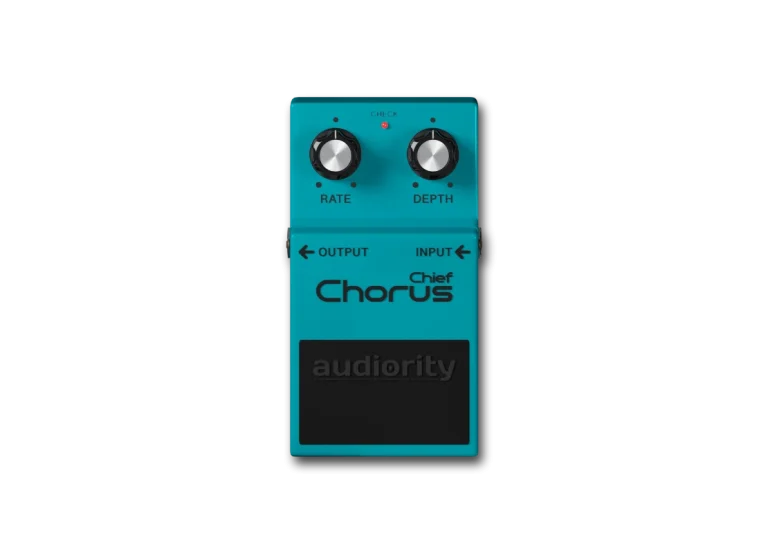
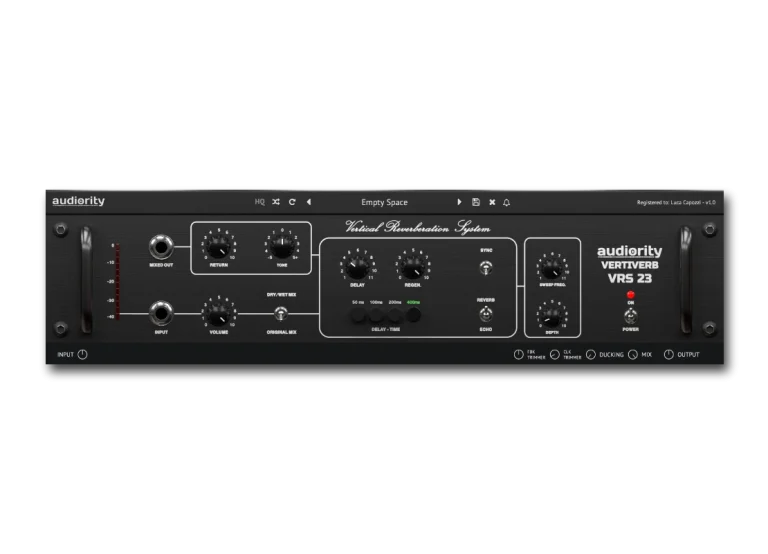
WORK IN PROGRESS
UncategorizedWe are doing massive change to Progsounds.com and some old articles and functionality may be unavailable. We will be back with a brand new site very soon.
We are doing massive change to Progsounds.com and some old articles and functionality may be unavailable. We will be back with a brand new site very soon.
While programming my first library I ran into the need to have an acoustic piano sound. Since I don’t have a real piano to sample, I decided to synthesize it from scratch using “traditional” subtractive synthesis technique. This is my first good result and has been achived only by using basic oscillators, filters and so on. The only downside is the limited polyphony due to heavy CPU usage so I sampled almost every key and mapped them into a sampler in order to make this sound more usable.
View the full project on Behance Network
Here is a picture I took while bending a Boss Dr. Pad III, highlighting some cool spots.
Here’s the result:

Using genetics to make music is very fun. During my researches I found that genetics algorithms are often used to create evolving patterns but, unfortunately, they do not sounds very musical. My approach is to program some Reaktor ensembles using simple yet musically effective genetic tricks to achive evolving rhythms and music patterns.
View the full project on Behance Network
The Stethosphone is an “alternative” miking tool built using a couple of electret mic capsules mounted inside a cheap stethoscope. This instrument is very useful in order to experiment with surface recording from any object and it is good even as new way to record instruments such as guitars, drums and so on.
Read more
Prepare yourself for remake the sound of the most popular electromechanical instrument in the world. In this article we will explain you how to emulate the famous Hammond organ on your synthesizer.
Read more
by Carlo Castellano
In this tutorial I will explain how to recreate a lead sound I realized inspired by Ozric Tentacles sounds. Technically speaking, this lead is very simple to achive (is a sync-based lead) and do not require particular skills to program it. This lead can be extremely metallic and “spacey” but it requires realtime controls to play at it best.
For the creation of this lead sound I’ve used a VA, XioSynth from Novation
Read more
To make this sound i’ve recorded a slow boiling sauce, then downpitched by two octaves without retaining the sample length. The sound was then processed by denoising, boosting of interesting frequencies (such as boil pops), compression and ambience has been added through various reverbs and granular processors. A lot of further boosting was needed to achive a decent level.
Audio clip: Adobe Flash Player (version 9 or above) is required to play this audio clip. Download the latest version here. You also need to have JavaScript enabled in your browser.
This bent gives you the opportunity to change your old Boss DS-2 Turbo Distortion from an old pedal to Pure Evil.
You’ll need:
* Jumper wires
* 100K Linear pot
* SPST Switches (On/Off)
WARNING: This bent will permanently change your pedal sound. There is no bypass here.
First of all, open your Boss DS-2 and pull out the PCB paying attention to the wires inside the box. Now you can see both “Input” and “Remote” jack sockets. If you want to put a knob inside the box, you can remove the “Remote” socket to free space. As you can see, there are two black cables soldered to a “Remote” socket plug and one of them goes to the main switch. Remove the “Remote” socket and solder the long black cable to the main switch. Now you can fit the pot into the free hole.
Pull out the main switch while pushing the two little side “levers”. Let your SPST switch cables passing through the same path as main switch cables. Now you’re ready to solder. Using the “PCB Side” image as reference, do the following steps:
Solder one switch wire to the point marked as A and join the remaining cable to one of two lateral pot cables (see point B on the picture). Solder the center pot cable to the point marked as D and the last cable to the C point.
Solder a jumper wire between the two blue points as shown in reference picture. Now you can close your pedal and enjoy.
Further Developments
There are other interesting point around D marker. The upper blue point seems to be the signal output and can be joint with the area to the left of C point for feedback loops. Try it using a switched pot in order to activate the feedback and setting the amount. The bottom blue point seems to be into the filter section and this area can provide other interesting timbres. I suggest you to keep out from the yellow area, especially from the right side and the top power socket.
This is a simple tutorial for add a Sub-Oscillator to a Jen SX-1000, a little monophonic synth of late ’70s.
by Carlo Castellano. Read more